Seven Expert Recommendations to Deep Clean Your Freezer
When was the last time you cleaned your freezer? Do you open the door and find ice and food spills and unknown containers, months old? When yes, then it is time to clean up your freezer. It is not only that a dirty freezer is an eyesore, but it may also compromise the taste and safety of your food. The best part is that you do not need to fear this task, as one can do it easily.
By following the appropriate procedure, you are able to clean the freezer in a quick, safe and effective way. This manual will take you through seven master tips for cleaning your freezer. When you are through, you will have a clean, well-organised room where your food stays in perfect conditions.
1. Unplug and Empty the Freezer
The first thing to clean your freezer is to disconnect it. These are all the suggestions that are also suggested by bond cleaning Fremantle. The first thing is safety, and disconnection of the power will also enable the ice to begin melting. Store all food materials and keep them in a cooler or insulated bags so that they do not get spoiled while you are working. This is not only about easily cleaning your freezer, but you also have an opportunity to dispose of something that is expired or has been freezer-burned.
2. Defrost the Ice Buildup
In case you need to clean up your freezer, you have to address the issue of ice. Keep the door open to allow the ice to melt or accelerate the process by putting bowls of hot water in the door and closing it a couple of minutes. The steam melts the ice, which can be scraped off with a plastic scraper. Do not use sharp objects that may harm the inside; this is one of the safety measures one can get when learning how to clean your freezer correctly.
3. Remove Shelves and Drawers
After the ice has melted, remove all the shelves, drawers, and trays that can be removed. The reason is that it is essential to wash your freezer completely since dirt and spills tend to run under these components. Wet them in warm soapy water, rinse thoroughly and allow them to dry in the air before replacing. Maintaining such parts clean also enhances sanitation, besides avoiding bad smells.
4. Scrub the Interior
This is followed by the rewarding aspect, which is the removal of the interior. Prepare a warm water and a slight amount of dish soap mixture or a vinegar and water mixture. Wipe everything, corners, and seals included, with a sponge or a microfiber cloth. This is the point at which you actually clean your freezer and get out all the spills, stickiness and residual smell of whatever was spilt. Take care of the door gasket as it usually contains crumbs and debris. This is the most important step of deep cleaning your freezer for fresh food and a clean freezer.
5. Address Hard-to-Clean Stains and Smells
There are occasions that, as you clean your freezer, you come across stains or smells that cannot be removed by the normal soap. In the case of stains, it is good to prepare a paste of baking soda and water and rub it gently on the stain until it disappears. To the odours, an open box of baking soda or a bowl of activated charcoal may be placed inside the freezer after cleaning – both of these are great natural deodorisers. That way, your food will be fresh and it won’t have any unpleasant smells.
6. Wipe With a Towel, and Put the Parts Together
The last thing that you never think of when cleaning your freezer is to thoroughly dry it. Wipe all the surfaces with a dry microfiber cloth. Then, leave the door open at least 15 to 20 minutes to get all the moisture to evaporate. The remaining moisture may freeze and reverse the effort. After all is dry, replace the shelves, drawers and trays.
7. Arrange and Clean Up Regularly
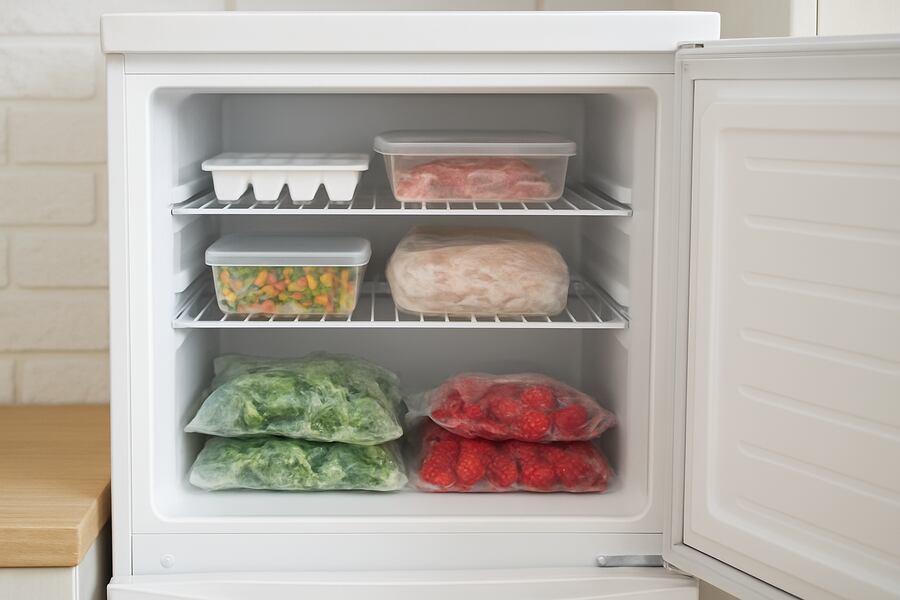
The last thing is to arrange your food prior to replacing it. Similar items should be put into groups, labels on containers, and the oldest ones should be put first so that they are the first to be used. An orderly freezer remains cleaner, and it is easy to locate what you are looking for. It is advisable by professional cleaners that you should clean your freezer after every three or four months. Frequent cleaning will eliminate significant accumulation, use less power, and ensure your appliance uses power efficiently. This can help you in keeping your food fresh.
Conclusion
You might think it is a huge task to learn how to clean your freezer in the beginning. With these seven tips as an expert, you can make it easy and even enjoyable. Unplugging and defrosting, to scrubbing, drying and organising. All of our steps are significant steps towards maintaining the safety of your food and the efficiency of your freezer. It is always good to clean your freezer regularly so that it does not get out of hand. Your freezer will not only appear shining clean, but your food will also be fresher, tastier and will last longer. One hour on the weekend will give you time to clean your freezer. Enjoy the difference in having a fresh and organised freezer in your everyday life.
Related Posts
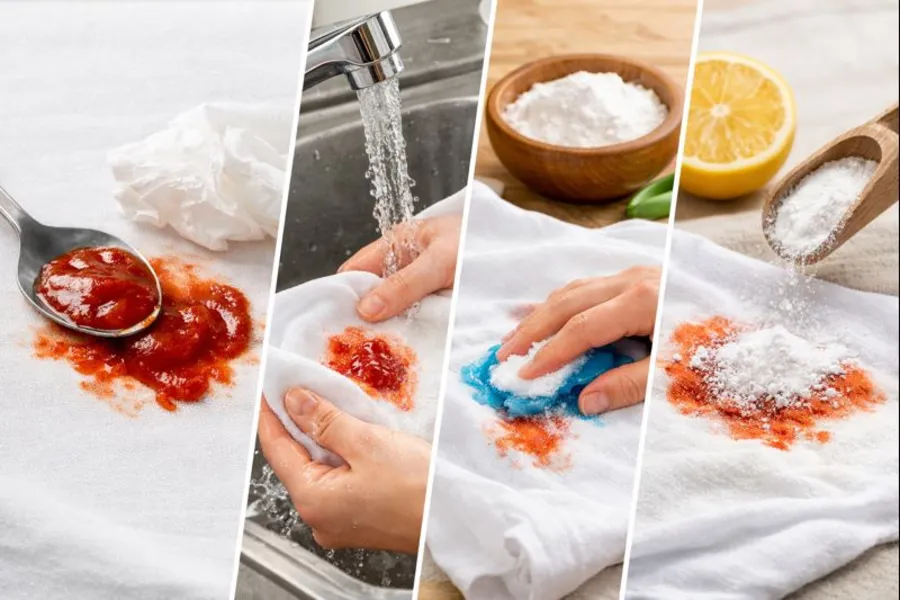
Easy Methodologies to Clean Ketchup Stains at Home
Clean Ketchup Stains at Home Using Easy Methods Ketchup all over once more, and asking…
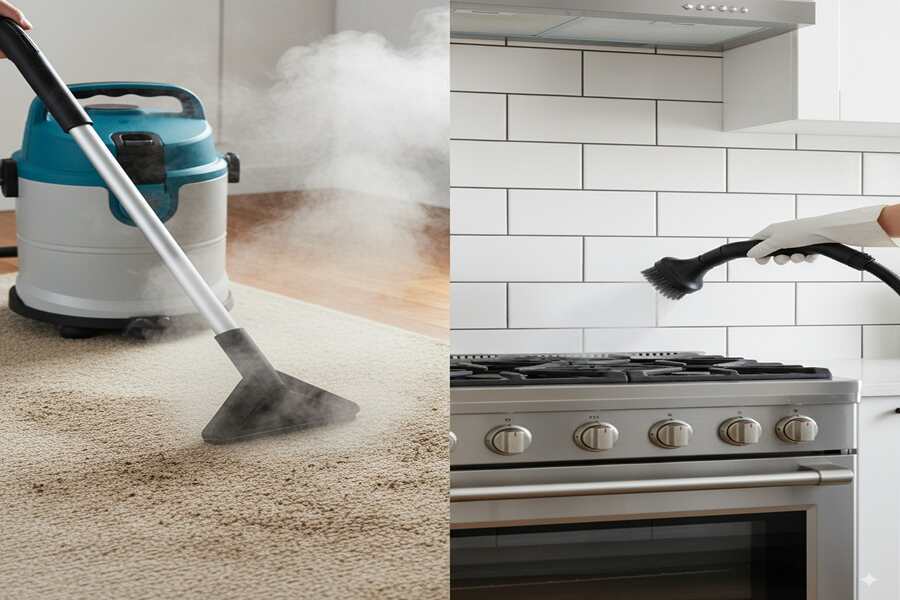
An Ultimate Guide to Steam Cleaning for Deeper Clean
Have you ever considered your carpets, upholstery or tiled floors and wondered whether they are…
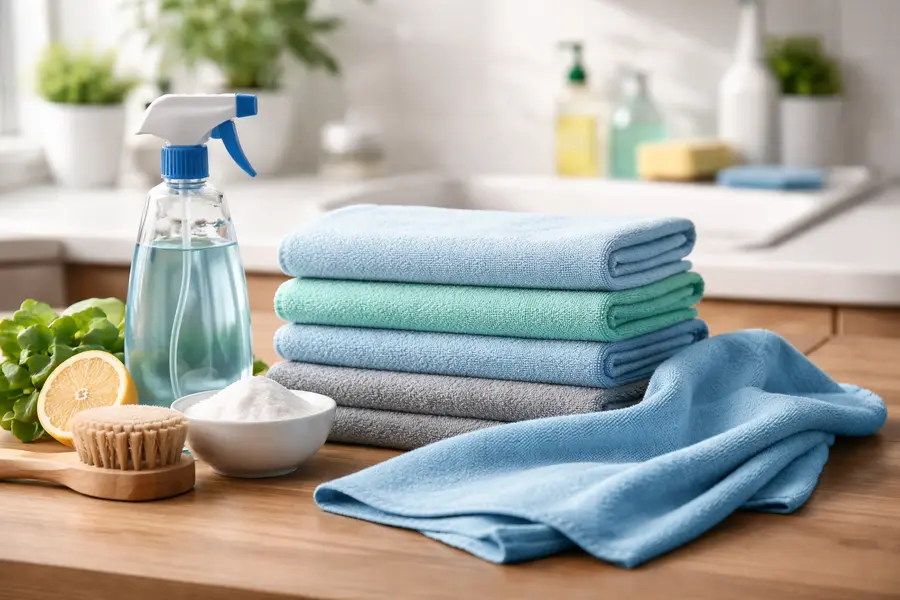
Benefits of Using Microfiber Towels for Effective Cleaning
Have you ever asked yourself why professional cleaners ever have such a perfect streak-free shine…